Dust is the silent enemy of computers. Over time, dust buildup inside your machine can clog fans, smother components, and lead to overheating and potential hardware failures. The first line of defense against this dust invasion is your computer’s dust filters. This guide breaks down why cleaning them matters, along with step-by-step instructions.

Why Clean Your Dust Filters?
- Improved Performance: Clogged dust filters restrict airflow, forcing fans to work harder, leading to throttling (reduced speed) of your CPU and graphics card to prevent overheating. Cleaning restores efficient airflow for optimal performance.
- Increased Component Lifespan: Overheating shortens the lifespan of expensive components. Regular filter cleaning contributes to a longer-lasting system.
- Reduced Noise Levels: When fans are forced to run at higher speeds due to restricted airflow, they generate more noise. Clean filters means quieter operation.
- Prevent Unexpected Shutdowns: Severe overheating can trigger automatic shutdowns to safeguard your hardware. Regular maintenance, including cleaning dust filters, prevents disruptive surprises.
Step-by-Step Guide to Cleaning Your Computer’s Dust Filters
Before You Begin:
- Power Down and Unplug: Turn off your computer completely and unplug it from the power outlet.
- Gather Tools: You’ll likely need a screwdriver (some cases have tool-free panels), soft cloths, compressed air (optional), and isopropyl alcohol (optional, for stubborn grime).
- Anti-Static Measures (If concerned): In arid environments, grounding yourself with a wrist strap or by touching a metal object before opening your case helps prevent static discharge.
Instructions
- Locate Your Filters: Common locations:
- Front Intake: Check the front panel of your case.
- Bottom Intake: Some cases have filters beneath the power supply.
- Top Exhaust: If your case has top-mounted fans, they might have filters.
- Other Locations: Consult your computer’s manual if unsure.
- Remove the Filters:
- Most filters are magnetic or snap into place for easy removal. Some might require a screwdriver.
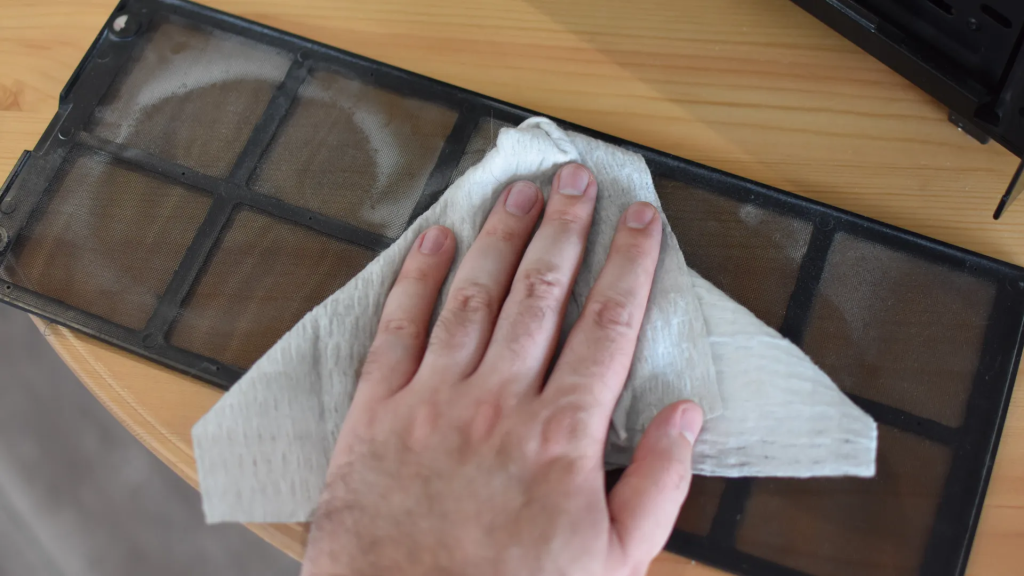
- Cleaning Methods:
- Dry Cleaning:
- Dislodge most dust with gentle shaking or a soft brush.
- Compressed air blasts can help reach stubborn areas.
- Wet Cleaning:
- For heavy buildup or sticky residue: Dampen a soft cloth with water (or diluted isopropyl alcohol for extra cleaning power). Thoroughly wipe the filter and allow it to dry COMPLETELY before reinstalling.
- Dry Cleaning:
- Inspect Other Areas: Take this chance to visually inspect the inside of your computer. Use compressed air to gently dislodge dust bunnies, taking care not to directly blast sensitive components.
- Reinstall the Filters (and Close the Case): Ensure the filters are correctly aligned and securely reattached.
Cleaning Frequency
- Dusty Environments: Clean your filters every 1-2 months.
- Average Environments: Cleaning every 3-6 months is usually sufficient.
- Pet Owners: Fur can accelerate buildup. Check filters more frequently.
Additional Tips
- Cleaning vs. Replacing: When filters become torn or significantly warped, replacement is the best option.
- Whole-System Cleaning: Filter cleaning is a great time to perform a more thorough full-system dust removal for long-term optimal airflow.
SEO Keywords
- Clean computer dust filters
- PC maintenance
- Improve computer performance
- Prevent overheating
- Computer cleaning tips
Conclusion
Cleaning your computer’s dust filters is simple, yet offers significant benefits for your machine’s performance, longevity, and noise levels. By incorporating this task into your regular maintenance routine, you’ll help ensure your computer operates at its best, minimizing downtime and maximizing its potential.